Last month was my 38th birthday! Alas, 38 years is far too short a time to live among such excellent and admirable Wonkers. I don’t know half of you half as well as I should like, and I like less than half of you half as well as you deserve.
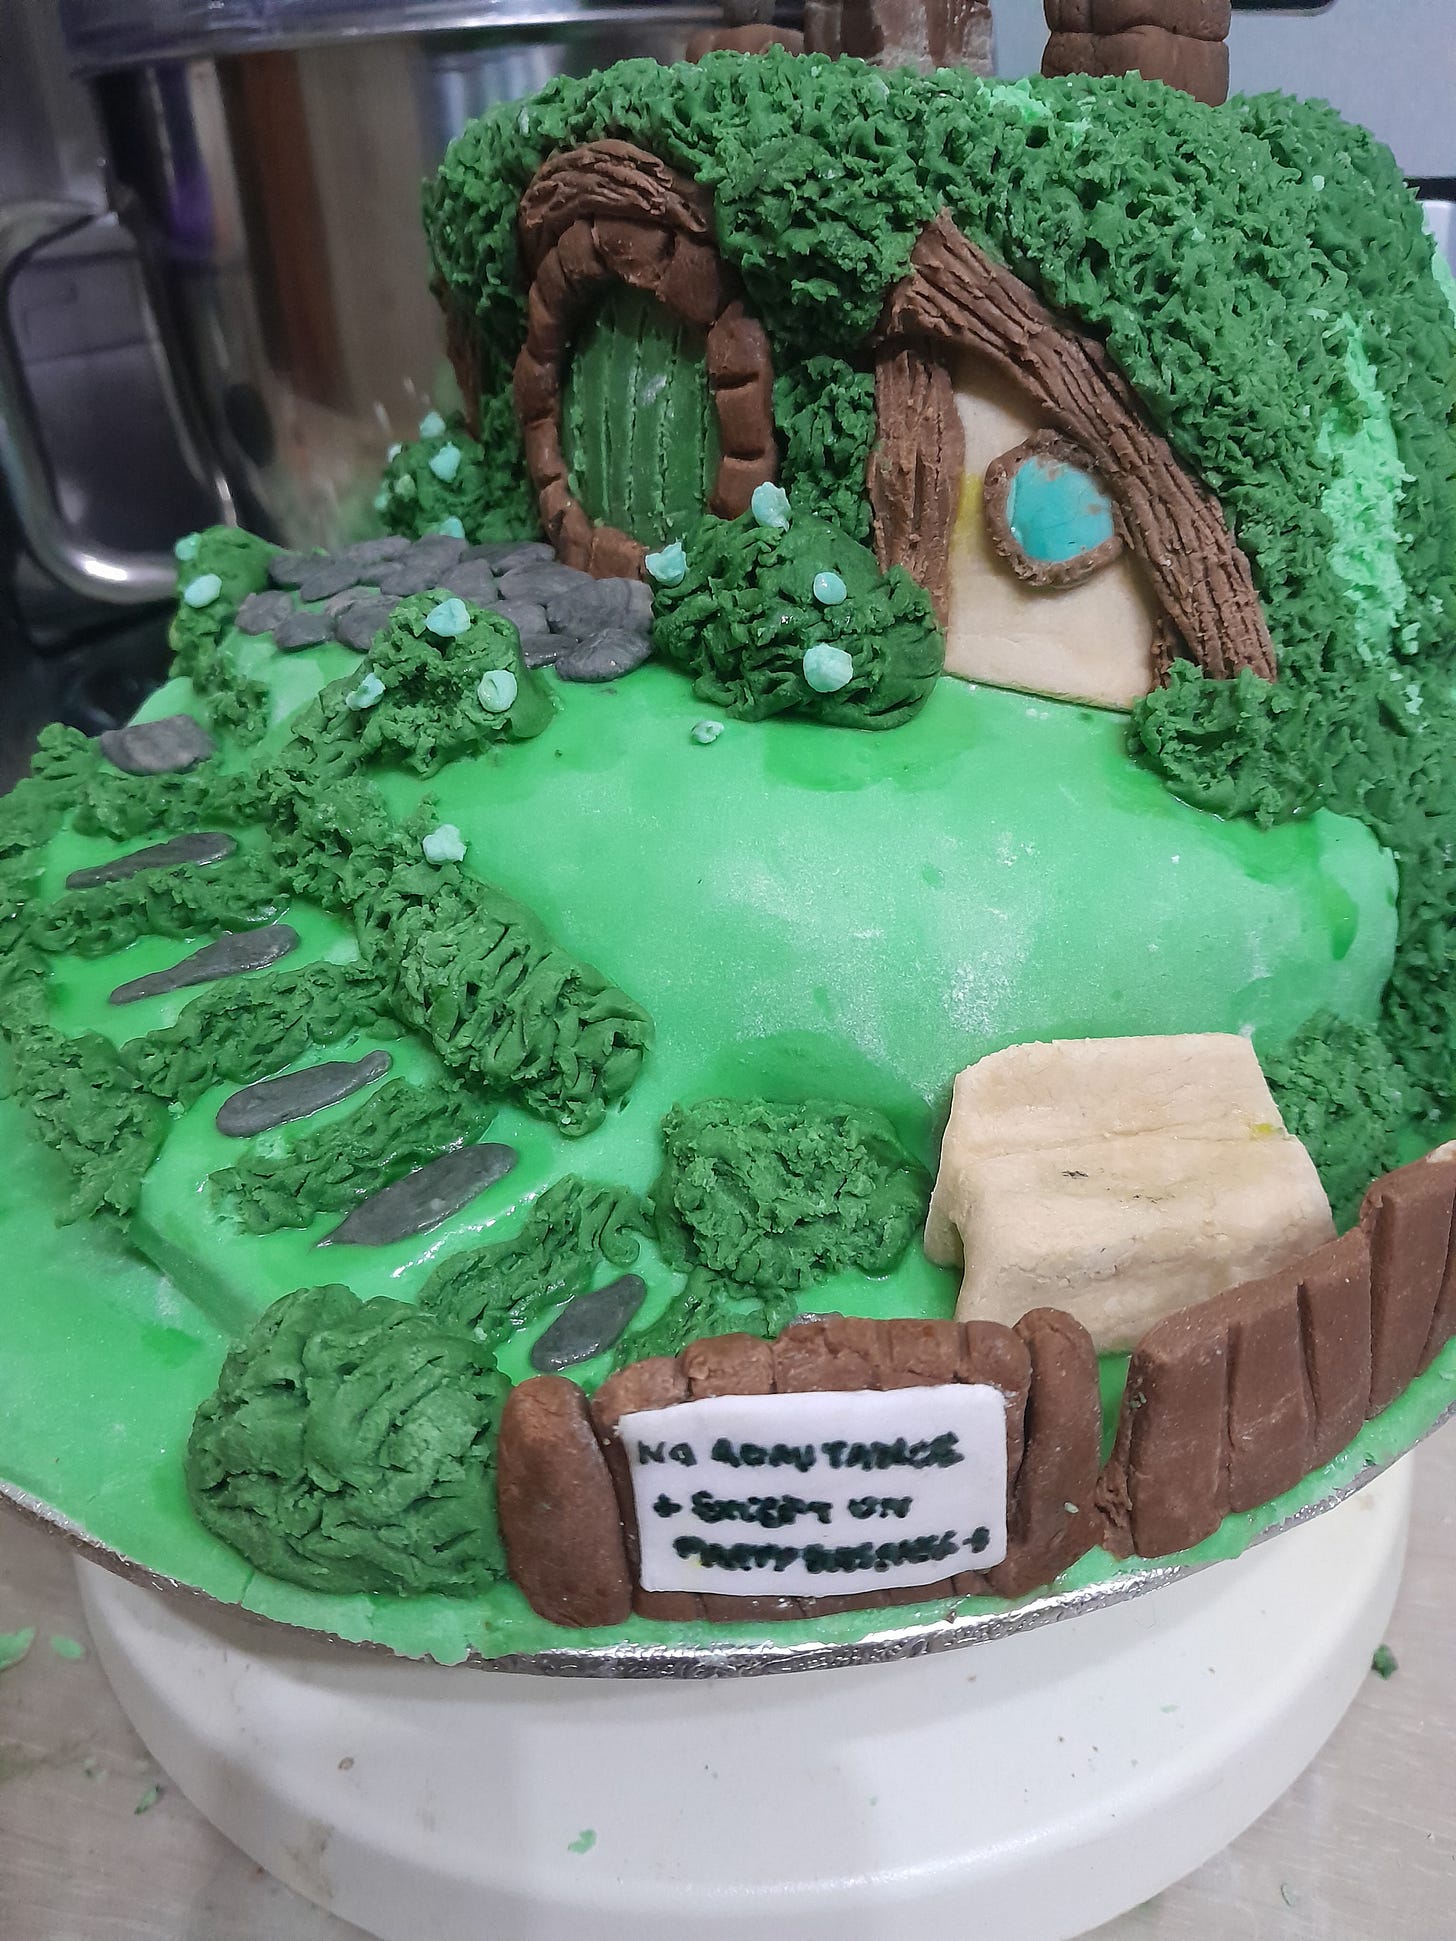
If you’ve not figured it out already, today we’re baking a Lord of the Rings/The Hobbit inspired celebration cake. I’ll be talking you through how to bake a seedcake inspired by The Unexpected Party in The Hobbit, where our poor, furry-footed friend has his home invaded and his pantry emptied by Dwarves. This little seedcake is wonderful as, unlike many seedcakes, it is lovely and moist. I’ll then talk you through how to sculpt and decorate your cake to look like Bilbo’s home, Bag End, perfect for a celebration for a Lord of the Rings fan of any age. And the really good news … all you need in terms of decorating tools is a rolling pin and a sharp knife. And a lot of time and patience.
If you can afford to then please consider becoming a paid subscriber if you’re not already one. If you can’t afford it then please don’t give us your money, the cakes are always free here, but hit subscribe anyway.
Your carbohydrates for this one are as follows:
Undecorated seedcake: 349.g for the whole cake (without jam), 29.13g per serving (based on 12 servings per cake, no jam).
For the decorated cake: 1889.5g for the whole cake (should serve about 20 people), 94.48g per portion (if you actually eat the sugarpaste, 47.18g if you don’t).
Your equipment:
Mixing bowl & whisk, or stand mixer (I recommend the stand mixer for this one)
Measuring cups
Measuring spoons
Your trusty electric kitchen scales
Shot glass
Cake tins, 6 inch and 8 inch work well
Cake board
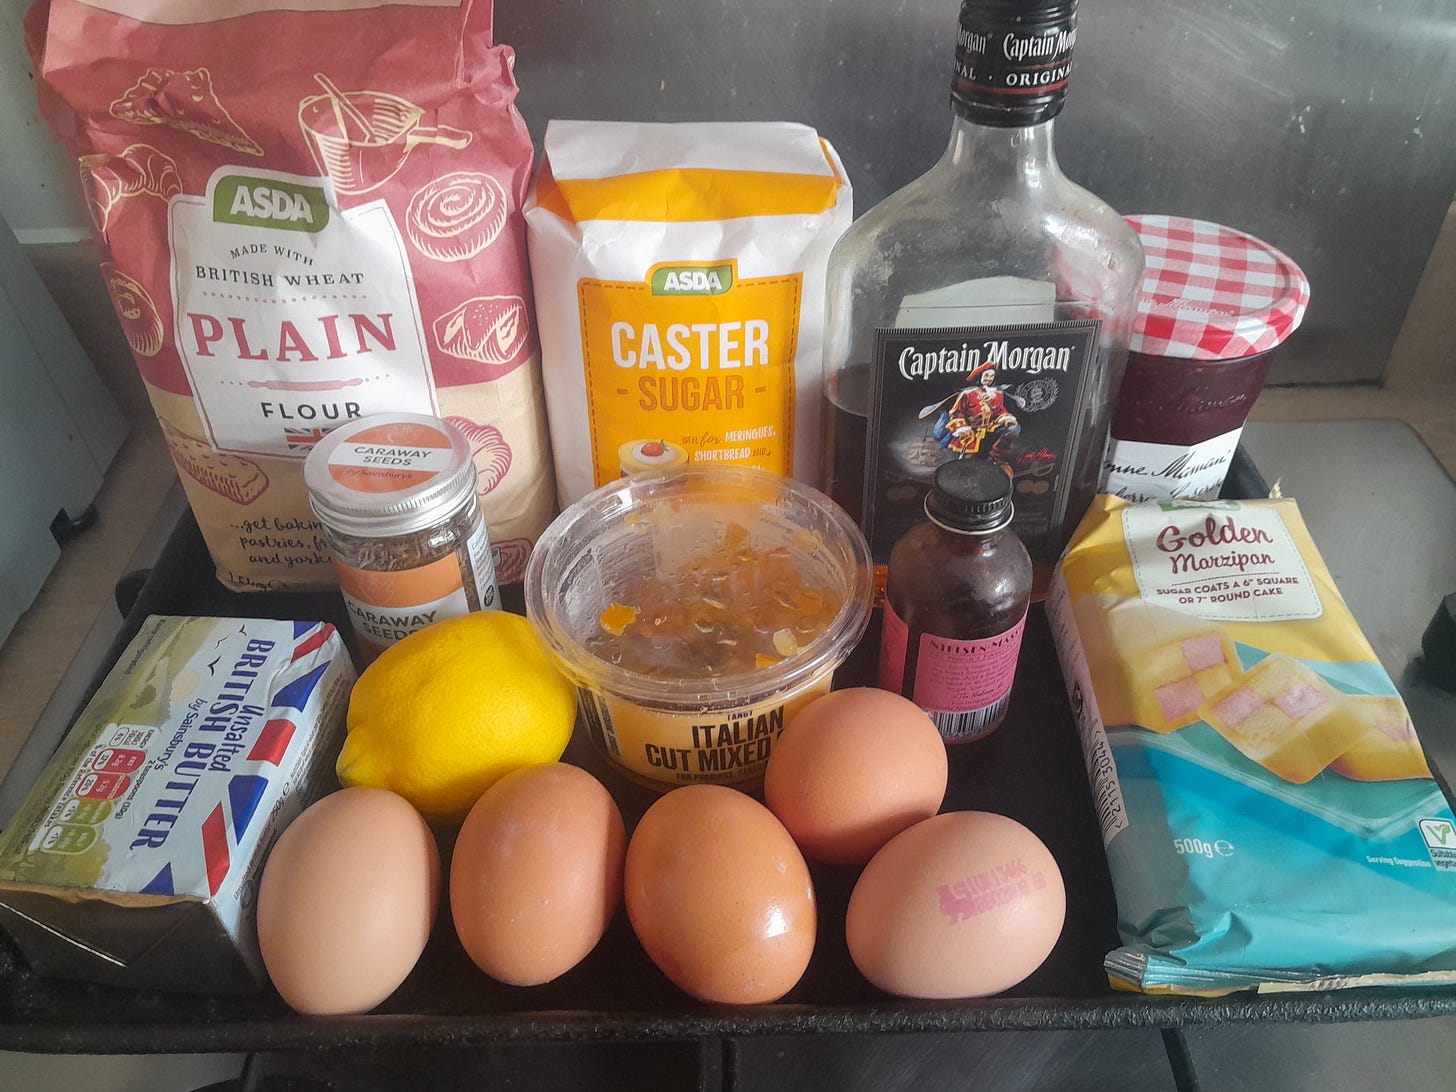
Your ingredients;
For the Cake (double it for the celebration cake)
2 whole eggs
3 egg yolks
250g butter, plus extra for greasing cake tins
¼ tsp rose water
1 shot of brandy (rum works if, like me, you don’t have brandy)
1 lemon rind, grated
1 ¾ cups all purpose/plain flour
¾ cup white/caster sugar, also known as superfine or baking sugar
3 tbsp caraway seeds
¼ cup candied mixed peel
For the Decoration
500 g marzipan (order it online if you can’t get any in a local store, don’t forget to use the link if you’re buying from Amazon)
1 kg green sugarpaste frosting (you will not use all of it but a smaller amount would be very difficult to roll to fit the cake)
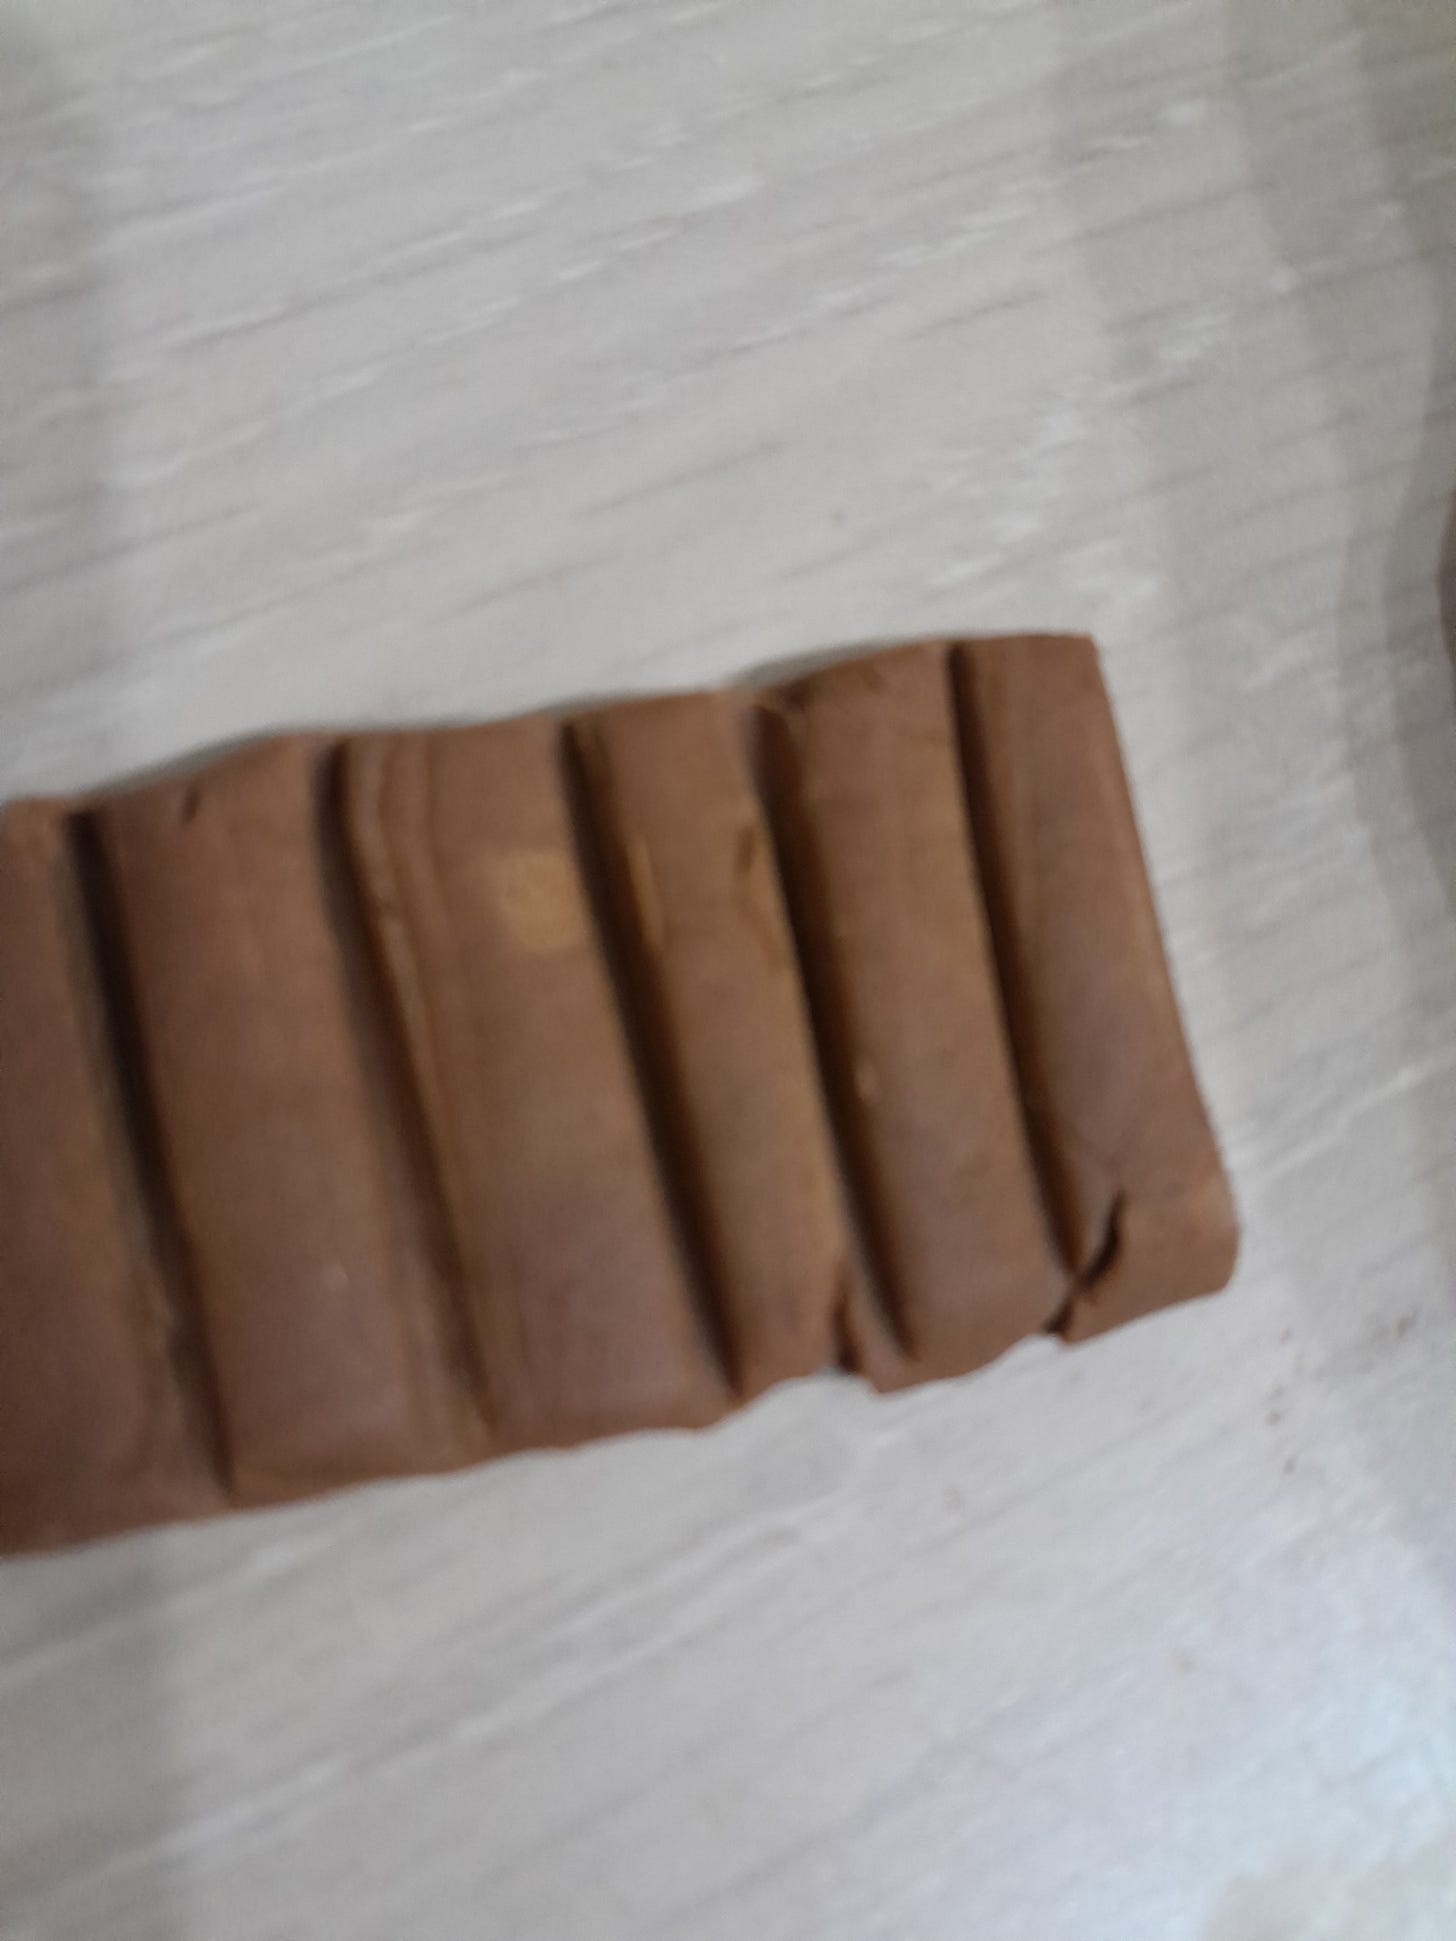
500g brown sugarpaste frosting (you’ll use about half of it)
240g white sugar florist gum paste
Foliage green food coloring gel
Sky blue food coloring gel
Black food coloring gel
Edible marker pen (fine), black or brown
The Fun Part
Set your oven to 390F/200C, drop to 350F/180C if you have a fan oven.
Grease your cake tins with a little extra butter.
In your stand mixer (or using your bowl and whisk) beat your eggs and egg yolks together until pale and frothy, medium-high speed for a few minutes should do the trick. Mix in your butter, rose water, and brandy or rum.
Add your lemon rind, flour, and sugar and mix on a medium speed for 5-10 minutes. The mixture should be fluffy and white. Now set your mixer to slow and mix in your caraway seeds and candied peel.
Transfer your mix to your cake tins and bake for 45 minutes to an hour, I found the 6-inch cake was cooked in 45 minutes, the 8-inch took about 55 minutes. The best way to check your cake is done is to insert a wooden skewer into the centre; if it comes out clean then you’re good, if not then pop it back in the oven for another 5 minutes and check again.
Transfer your finished cakes to a wire rack and allow them to cool completely.
At this point you can serve the cakes if you’re not planning to decorate them. I recommend serving them with raspberry jam, I’m sure Bilbo would also approve of this.
If you’re making this cake for a long expected party then this is the point where things get really fun, if you like concentrating on fine details for 6 hours or more.
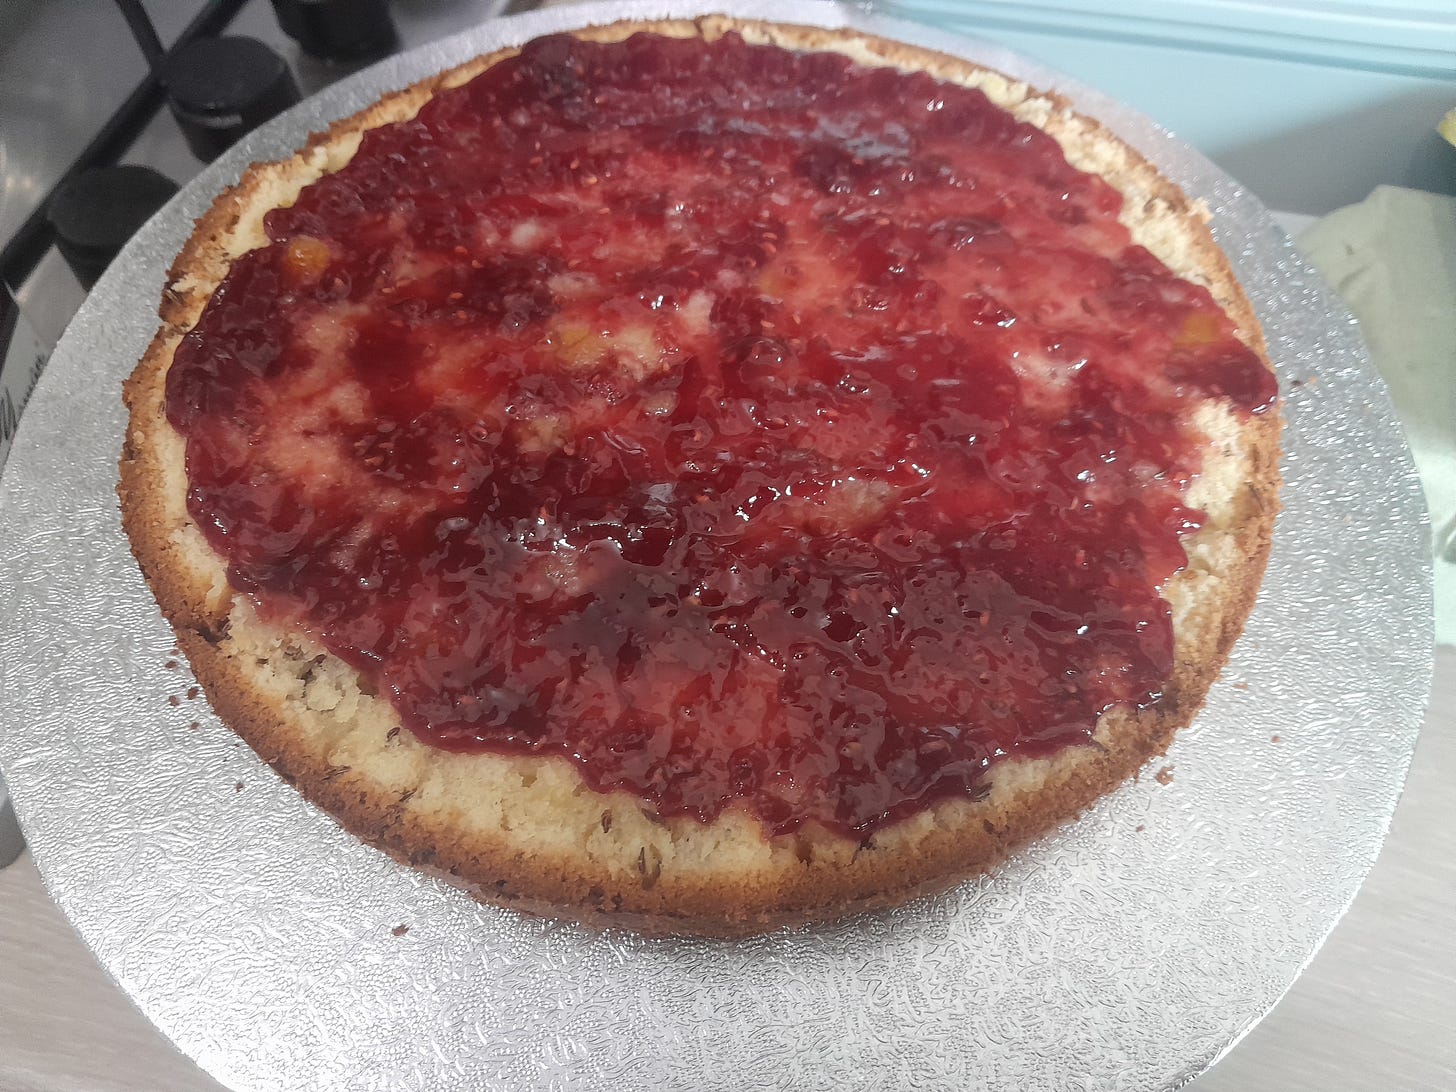
Slice your larger cake in half horizontally. Use a little bit of raspberry jam to fix the bottom half of your cake to the cake board and then spread the top with 2-3 tbsp of the jam before placing the other half on top.
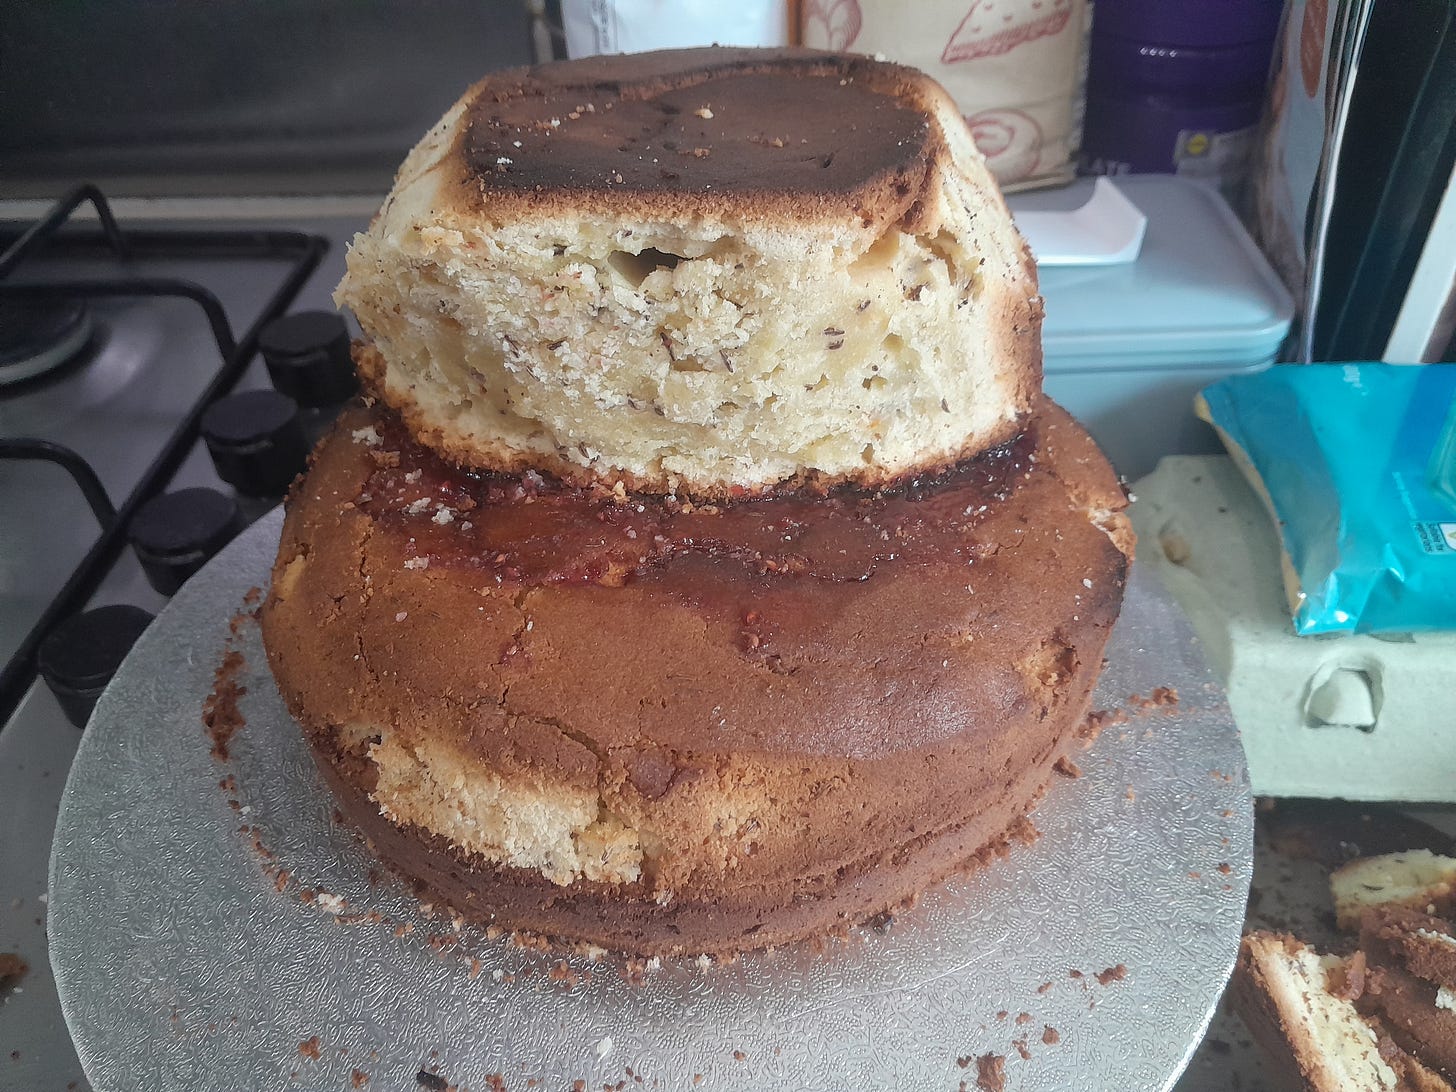
Now take your smaller cake and vertically slice off the front, don’t remove more than 1/3 of the cake (you can eat the trimmings if you feel like you need the fuel for the long decorating stage). Leaving the central third of the front flat, carve the left and right third into gentle curves. These will form the front and sides of Bag End. Now carefully trim around the rest of the cake to form a hill shape. I do not recommend slicing this cake in half horizontally, it’s too crumbly to handle it.
Use a thick layer of raspberry jam to sandwich the smaller cake on top of the larger one; place it towards the back of the larger cake instead of in the centre, you’ll need the space for the path and front garden.
Mix 1 tsbp of raspberry jam with 1 tbsp of water and brush this over the rest of the cake. Now roll out your marzipan to no thicker than ¼ of an inch (or about ½ a centimetre). This should be sufficient to cover your whole cake, with some trimmings remaining. Smooth out your marzipan as best you can.
Use the marzipan trimmings to build a staircase, this will need to be wrapped around your cake from the flat front portion going down to the cake board. It’s just like modelling with Play-Doh or clay.
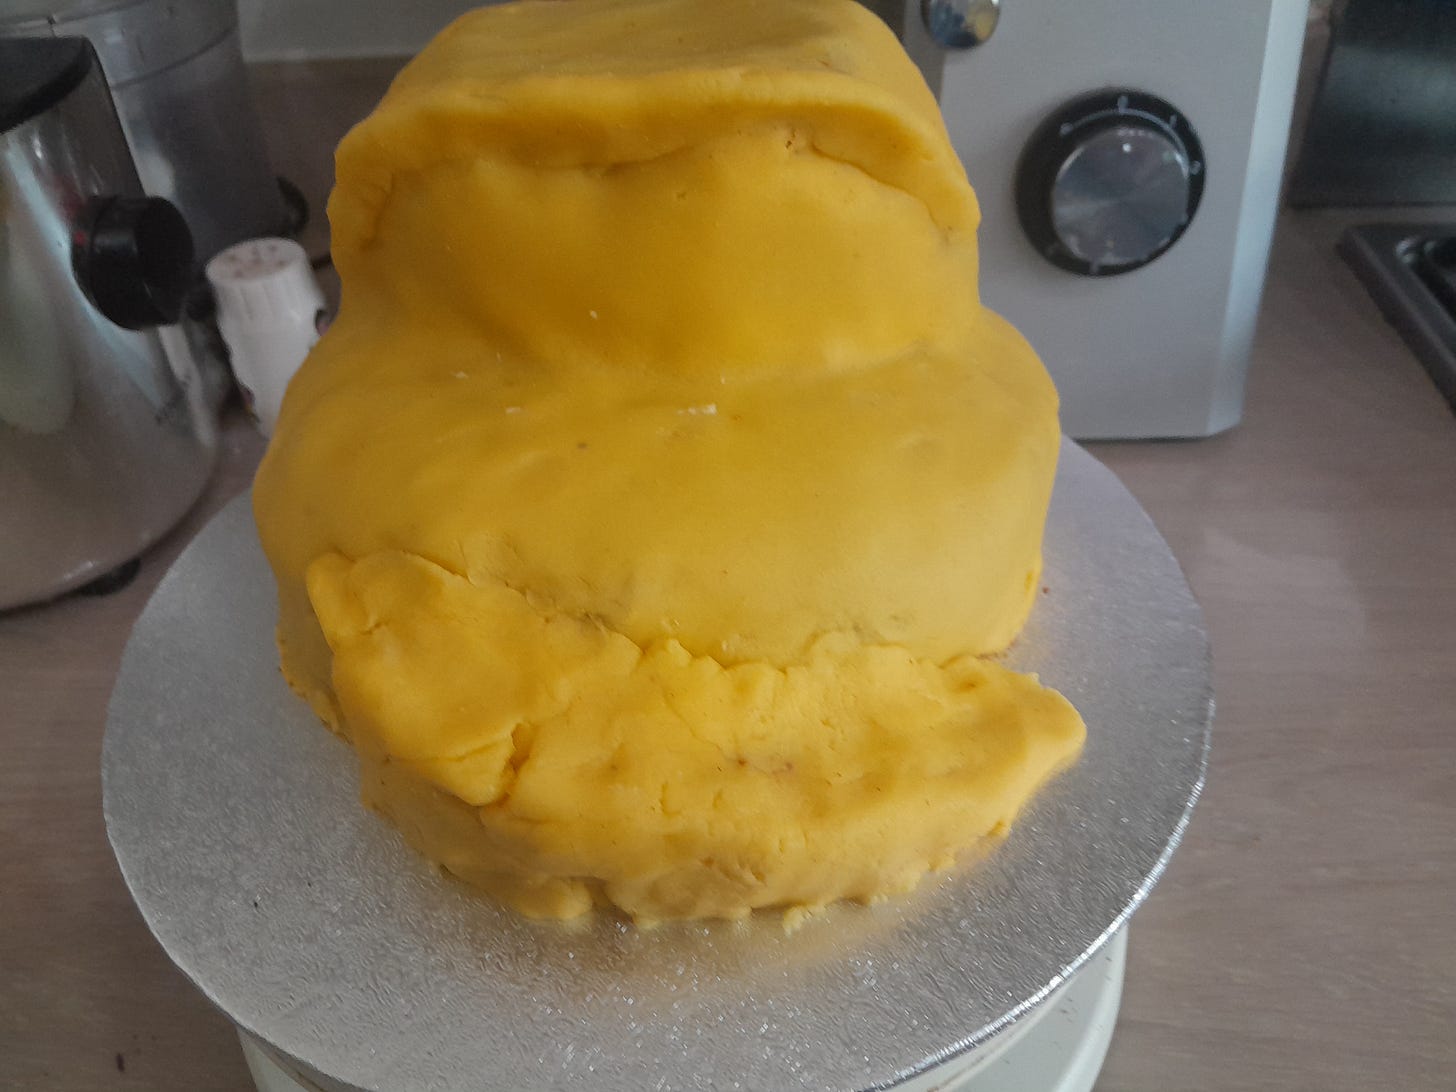
Once you have your staircase in place roll out your green sugarpaste to about ¼ inch thickness. Use this to cover the whole cake and any cake board that is showing. Trim the edges. You should have plenty of sugarpaste remaining.
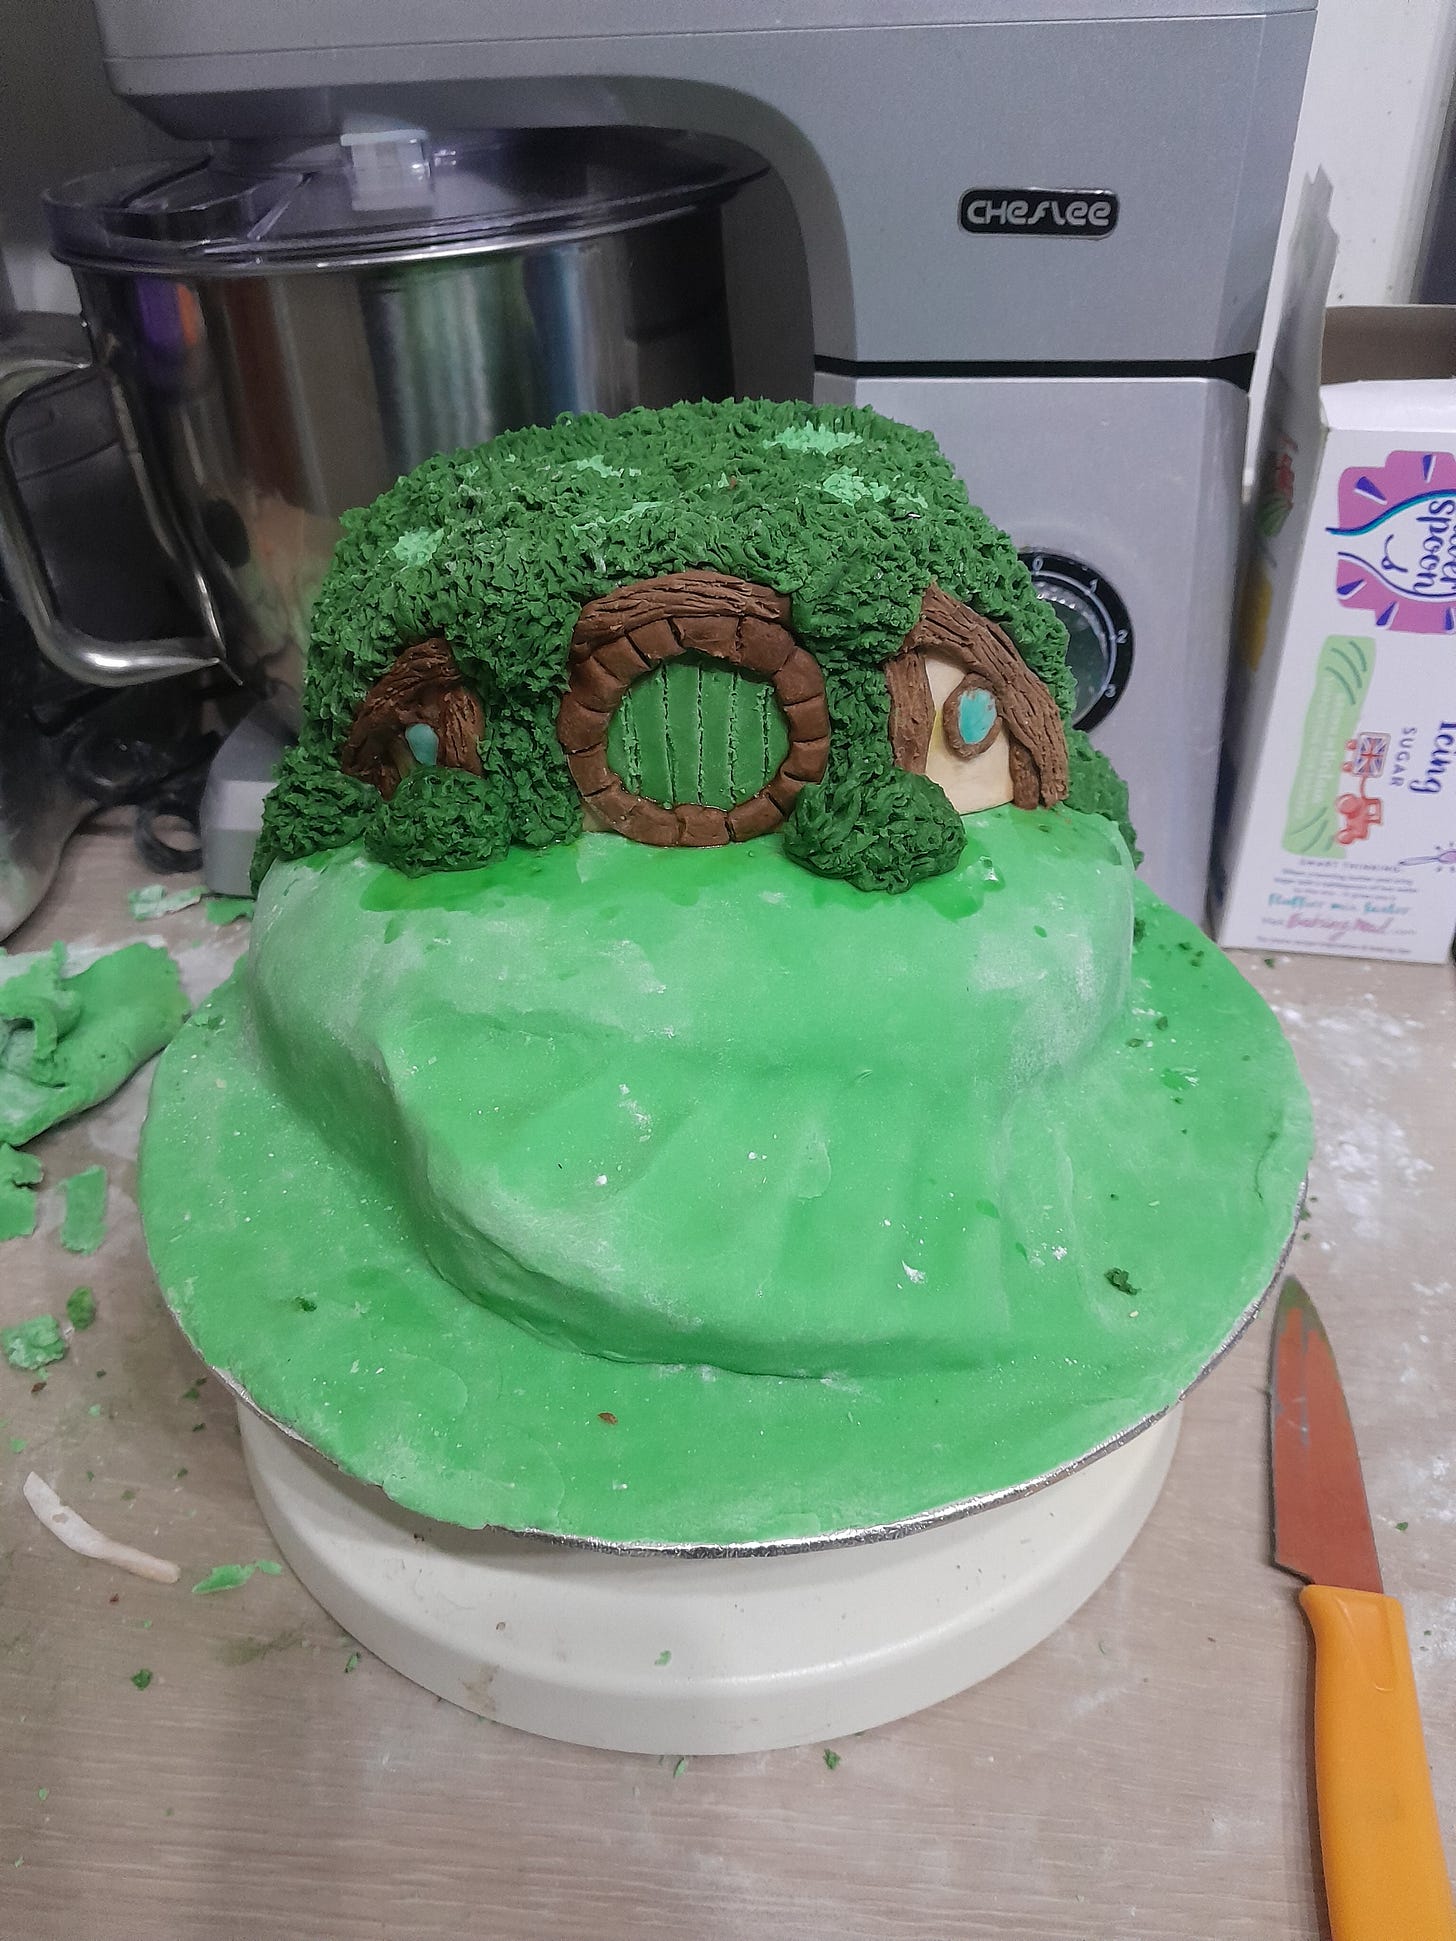
Cut a slice from the white florists gum sugarpaste, roughly an inch thick should be more than enough. Take a small ball of your brown sugarpaste, around ½ an inch in diameter, knead this into your white sugarpaste until it forms a pale, pink-brown colour similar to unpainted plaster. Roll this out to ¼ inch thick and trim into a semicircle to cover the front of your top cake, flatten the top and sides to fit the dimensions you’ve cut for the walls of your hobbit house.
For your door you’ll need a small ball of green sugarpaste, add a tiny amount of foliage green to it using the end of a cocktail stick and knead it until you have a slightly darker green than your base. Roll out the ball until it is a circle about ½ as thick as everything else you’ve rolled. Trim it until it fits comfortably onto the front of your hobbit house, you need space for a surround, doorstep, and eaves. Use the top side (not the sharp edge) to gently press the sugarpaste so it resembles planks of wood. Brush the back of the door with water and stick it to the front wall Of Bag End.
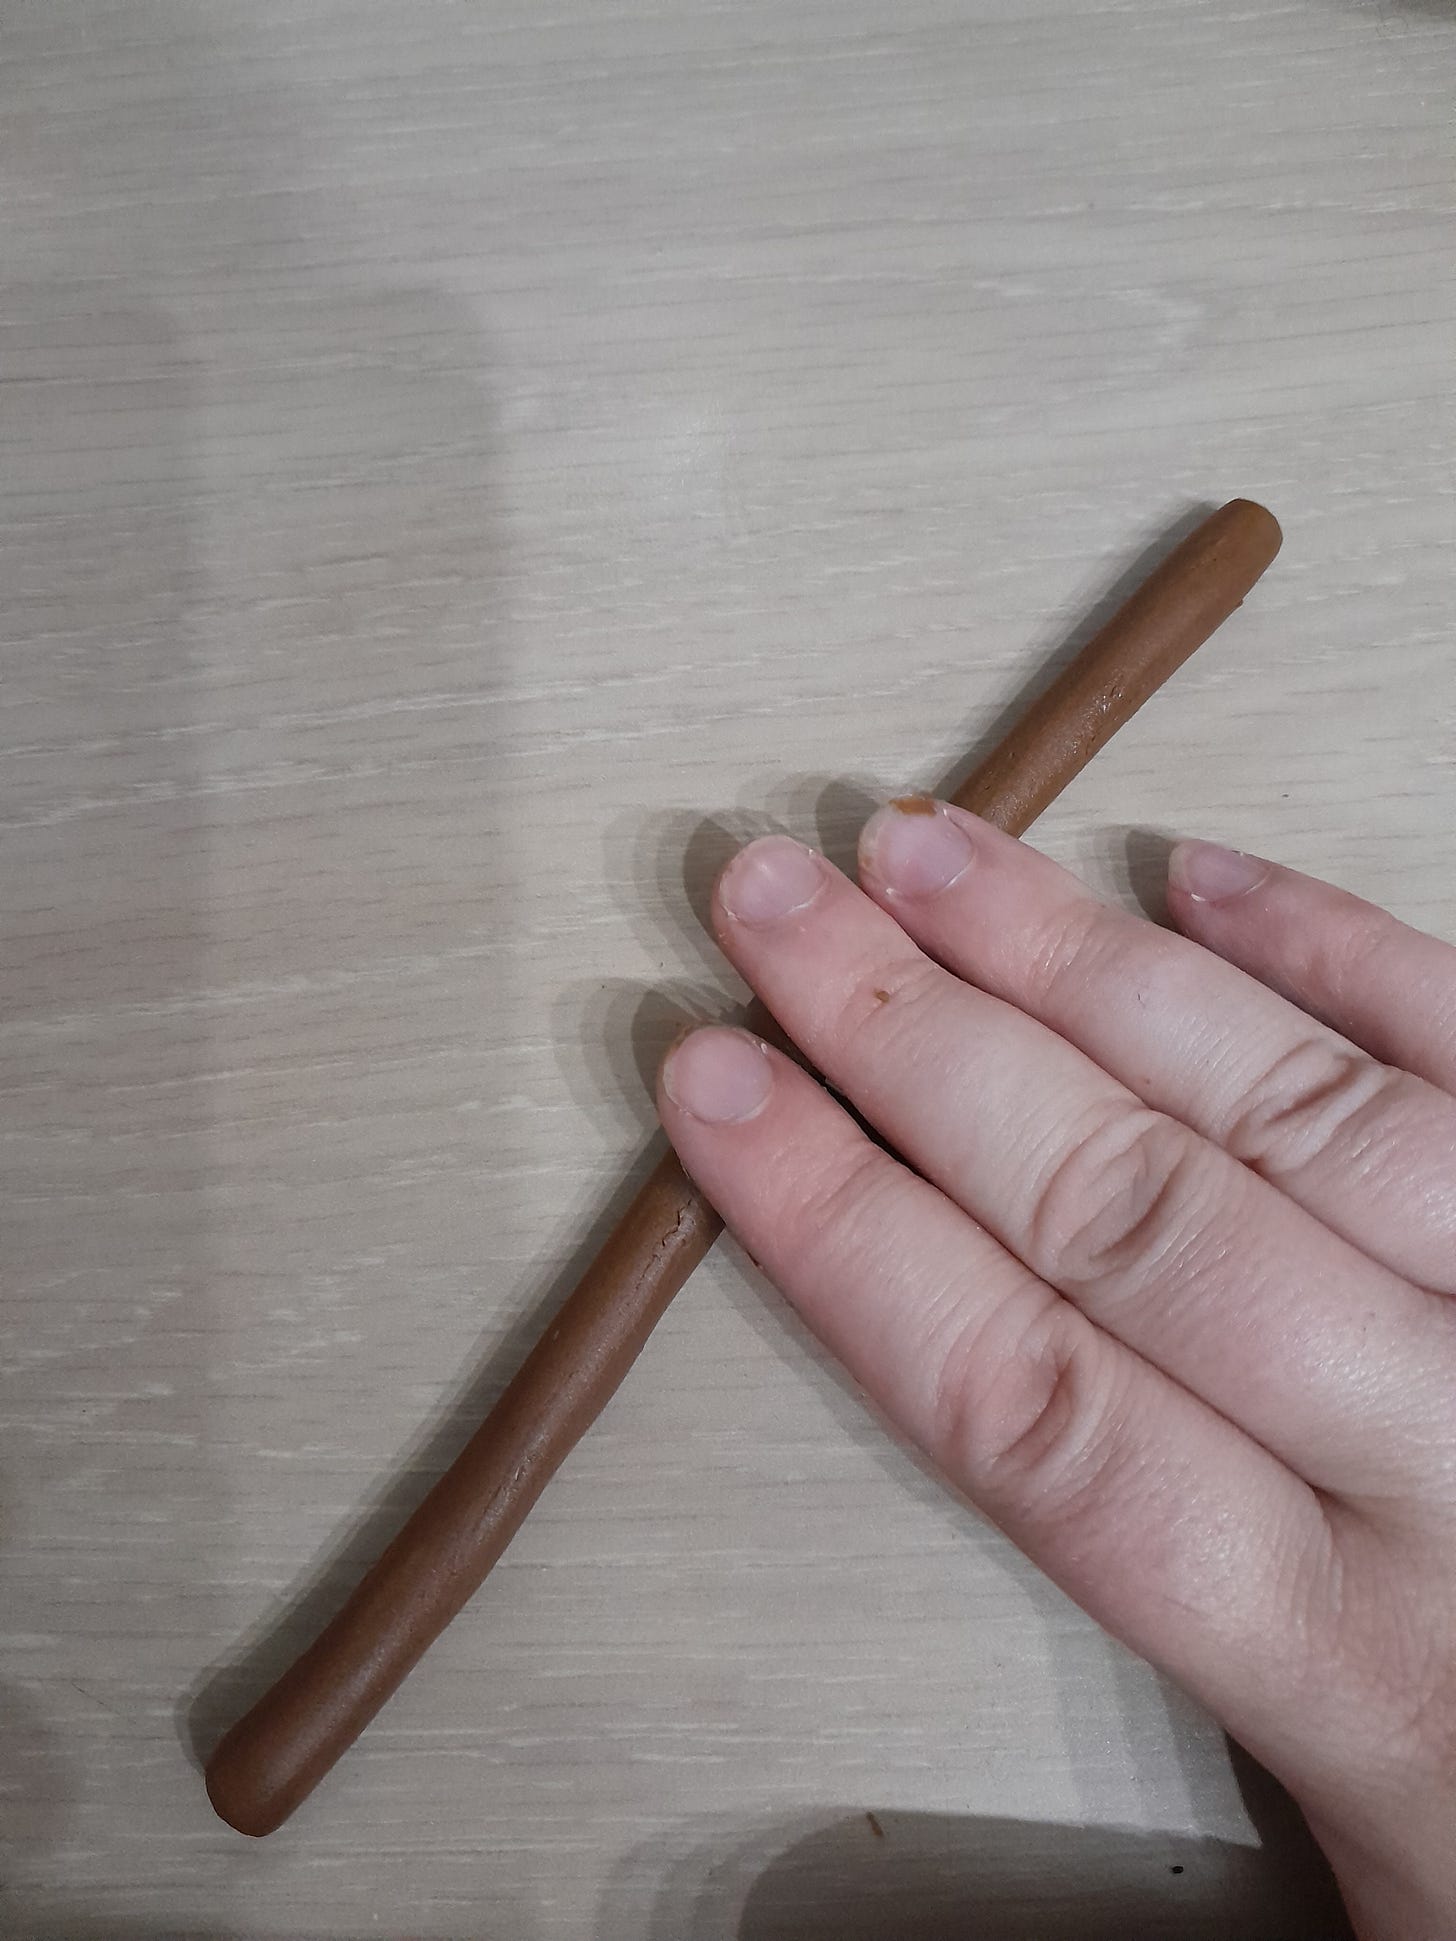
For the surround, take some of the brown sugarpaste and roll it out into a tube which is long enough to wrap around your newly installed door.
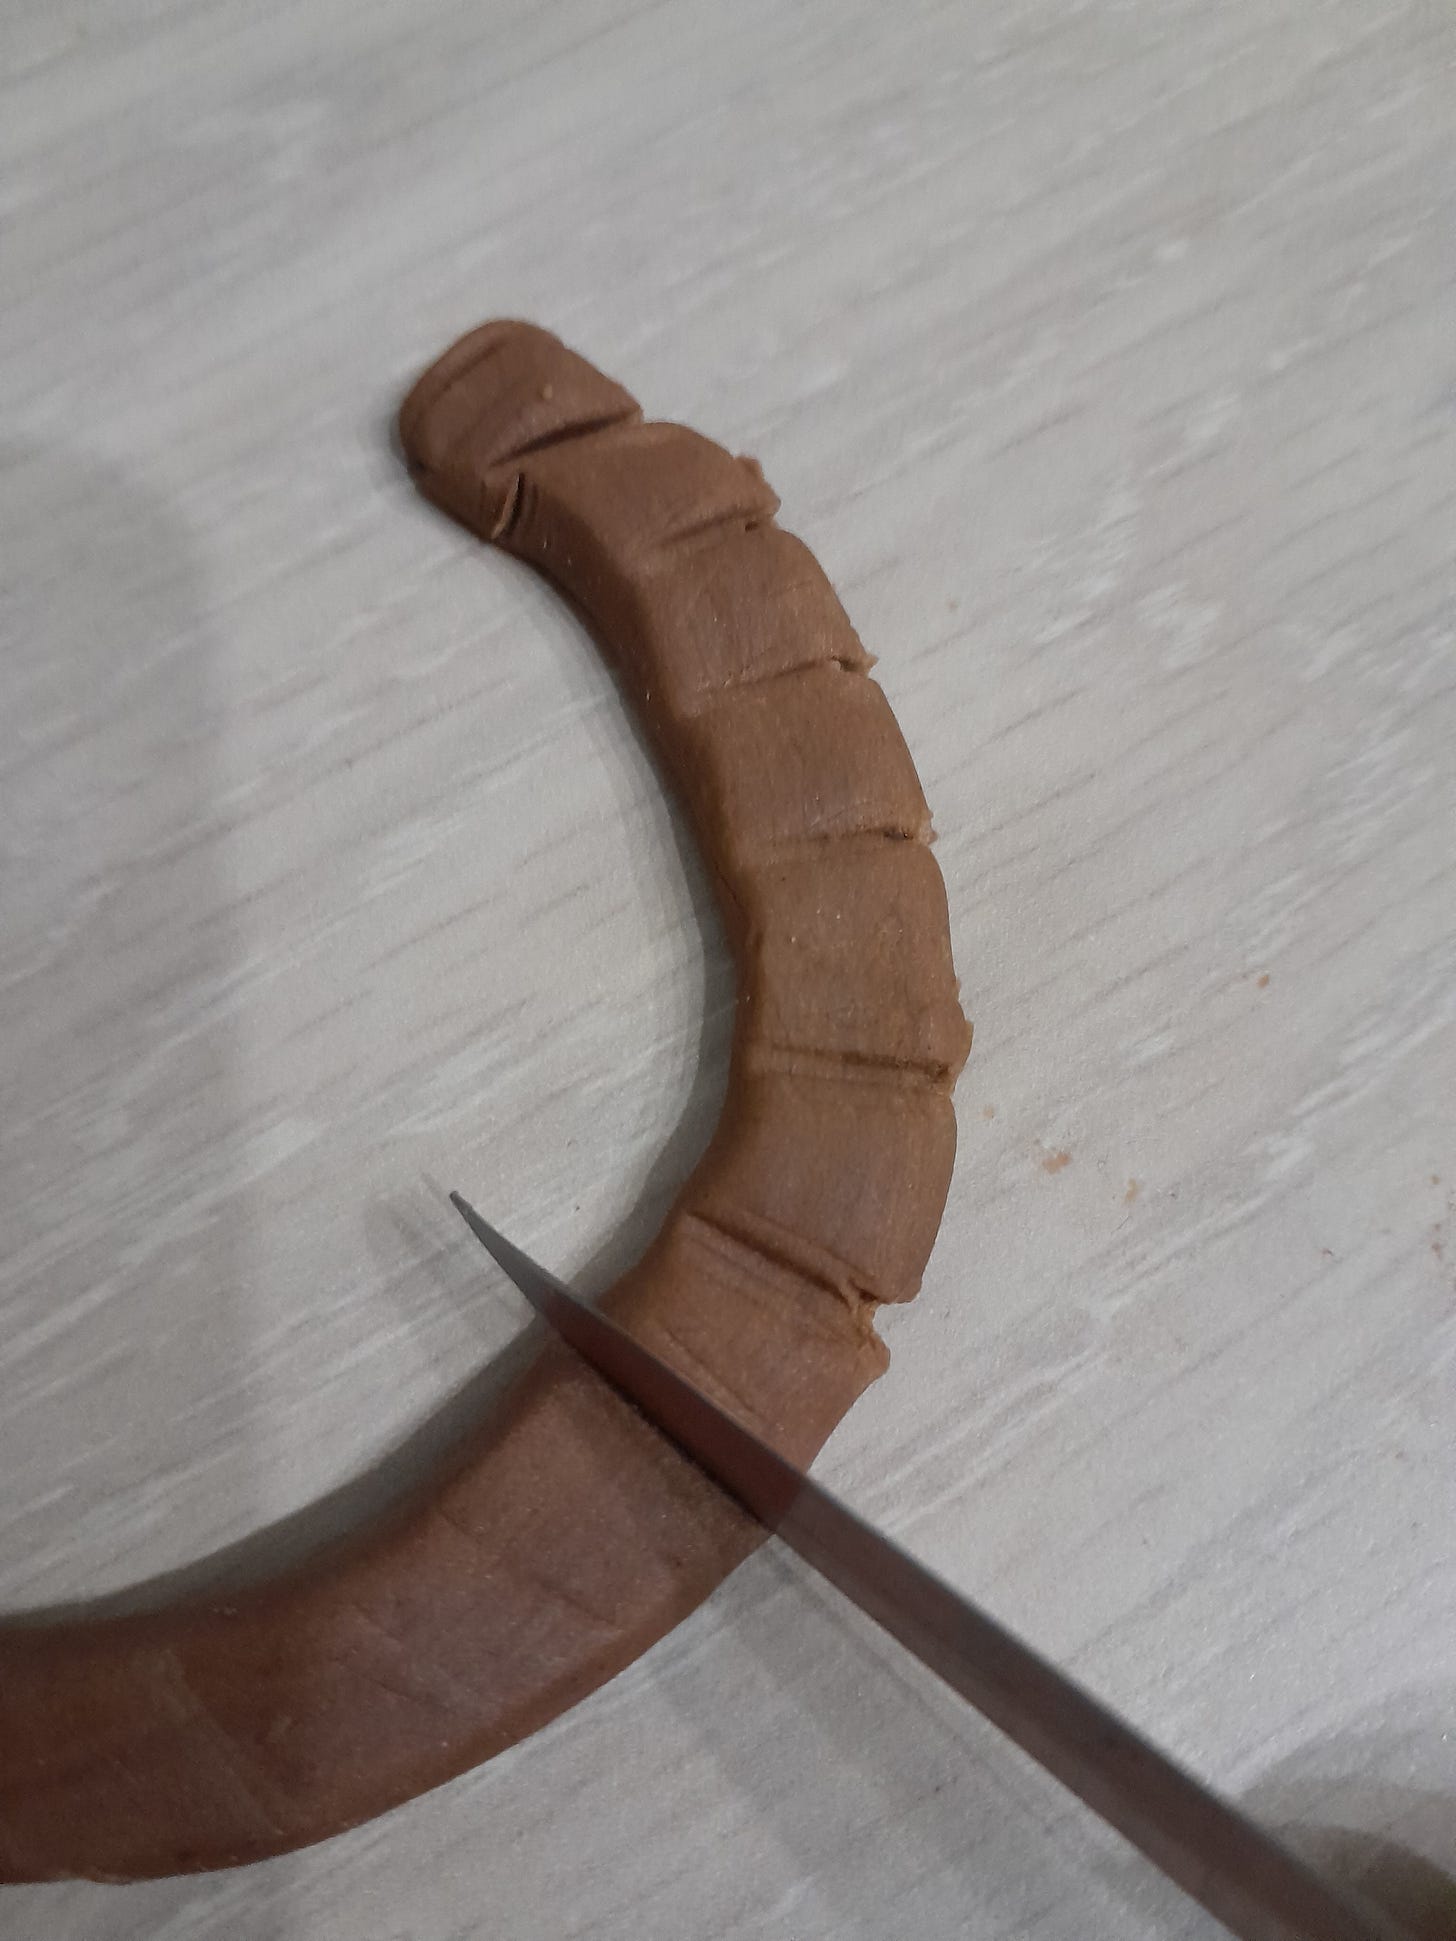
Gently flatten the tube and use your knife to shape it into bricks.
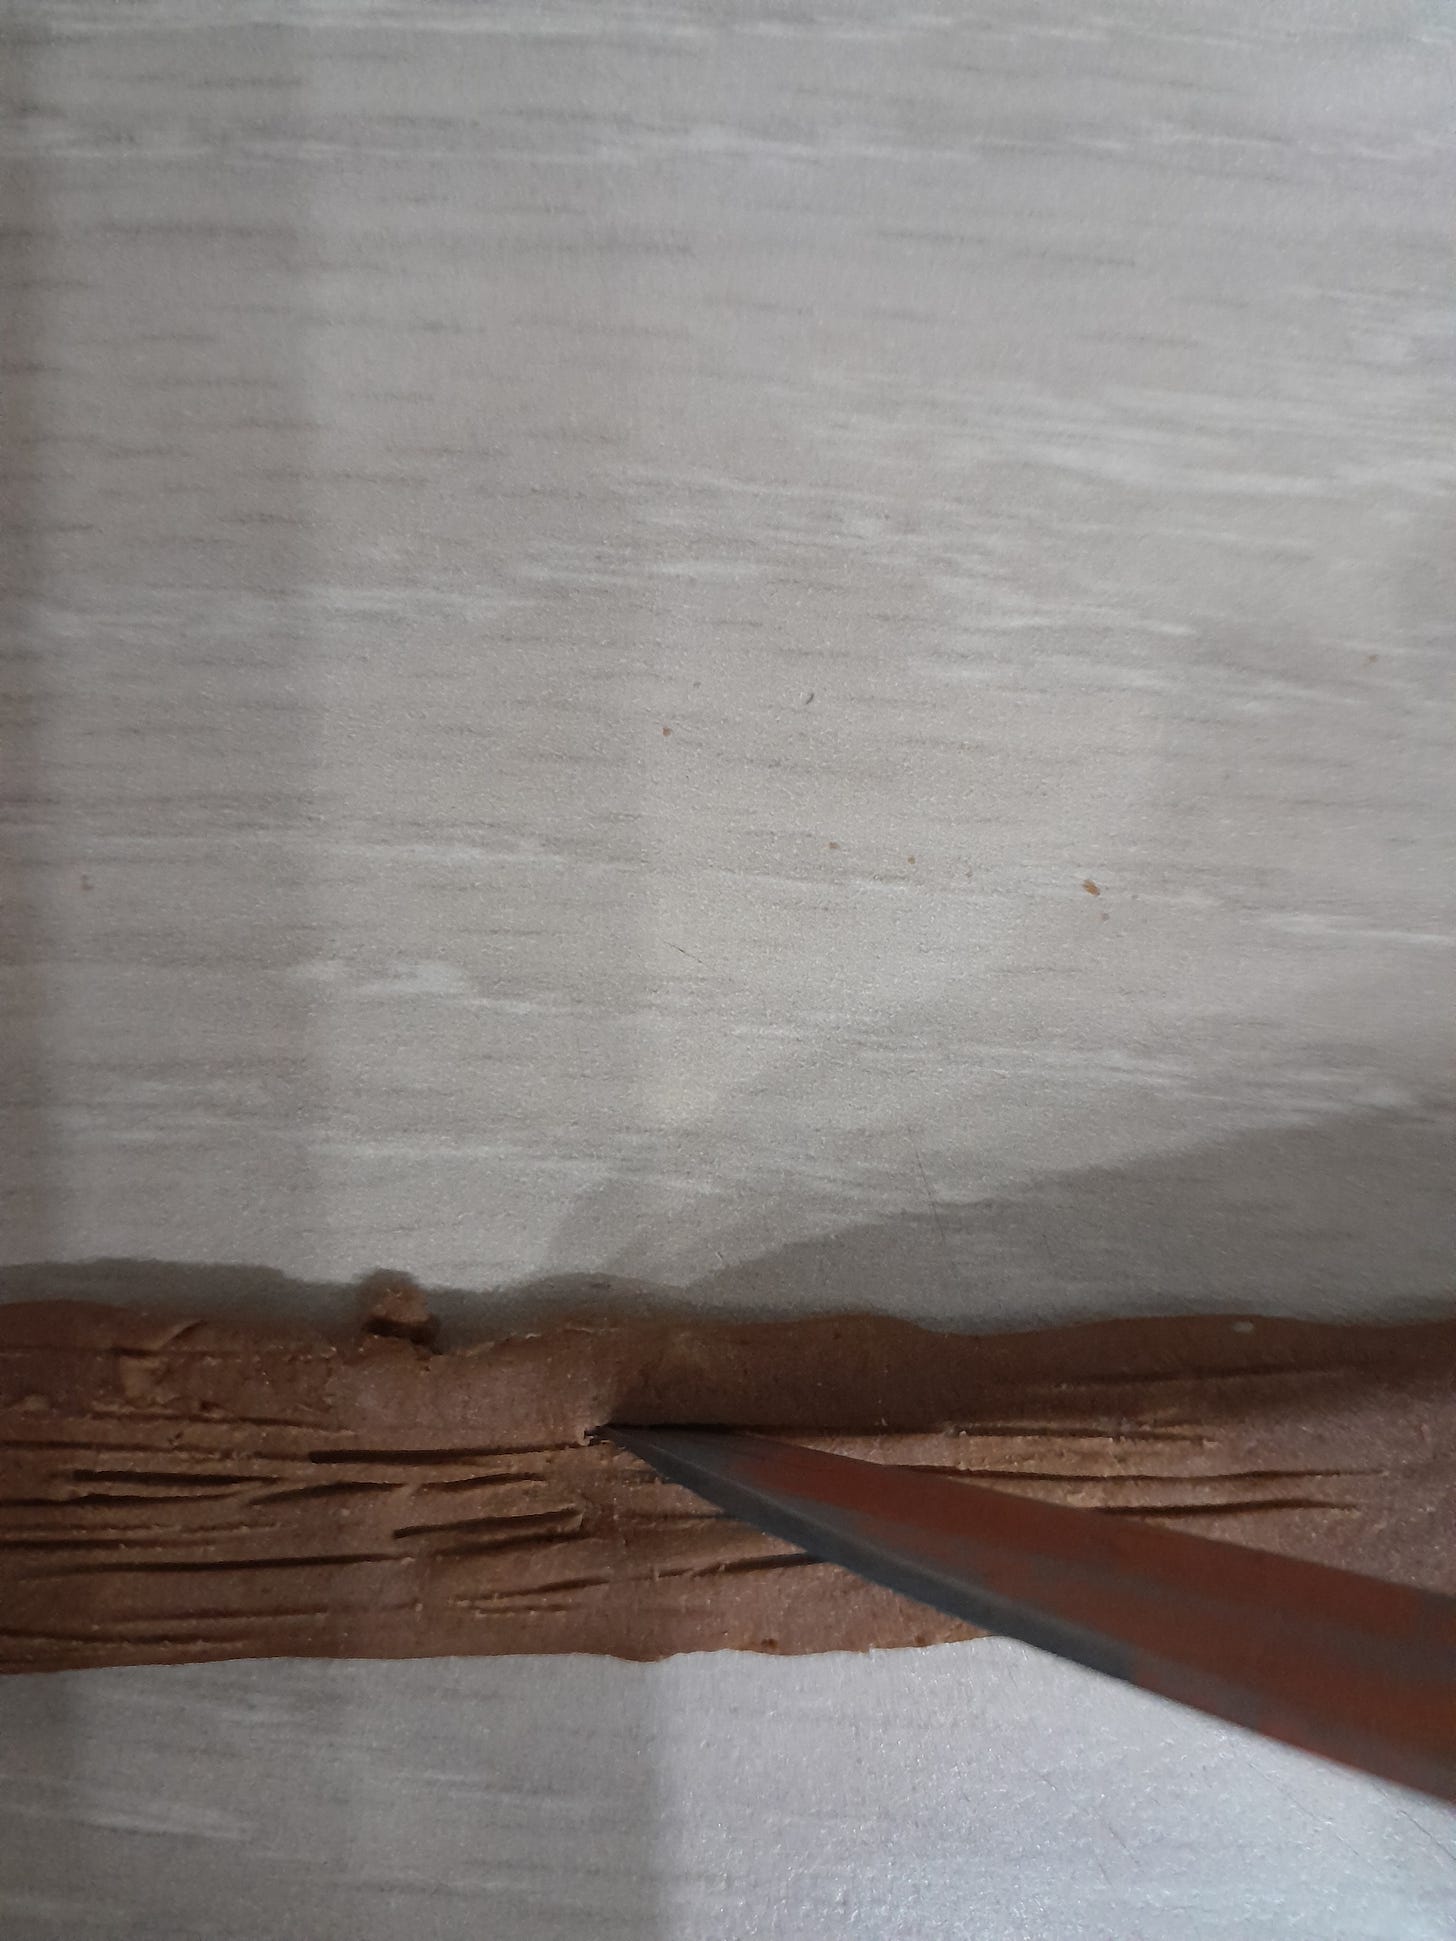
Carefully stick it around the outside of the door using a little water. Now use more of the brown sugarpaste to form the lintel and supporting pillars to either side of the door. Roll out tubes of the needed size and gently flatten. Use the sharp side of your knife to create a rough, wooden texture.
For your windows you need to make a light blue sugarpaste. Take a small ball of your white paste, roughly the size of your little finger as you will want some left over after you’ve made your windows. Use the end of a cocktail stick to add a tiny dab of the sky blue coloring gel and thoroughly knead it into the sugarpaste until you have a very pale, blue colour.
Take 2 small balls of this, each one should be about the size of your little fingernail. Roll these balls of sugarpaste until they are perfectly spherical and then use your rolling pin to roll them into circles that are almost paper thin. Stick these to either side of your support columns using a little water and use the same method you used to make the support beams and lintels to make the window frames from the brown sugarpaste.
Your next step is to make the moss, ivy and other foliage that surrounds Bilbo’s home, this is easy but very time consuming — I seriously recommend you learn from my mistakes and find somewhere to sit whilst you do this instead of standing hunched over the kitchen countertops for about 6 hours.
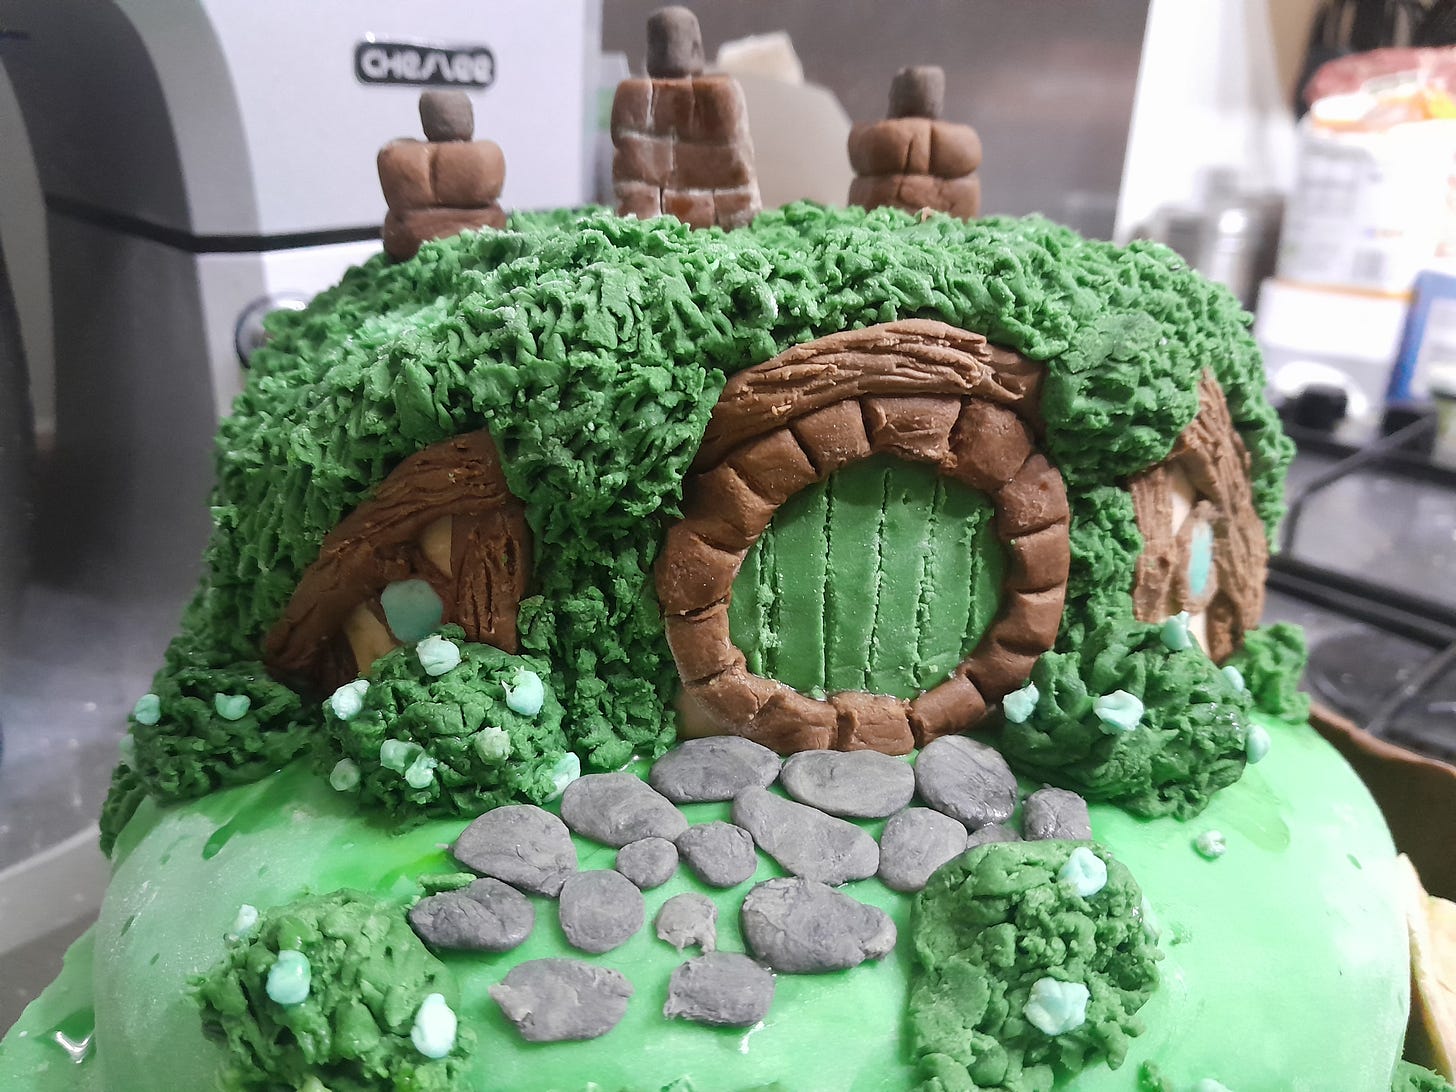
Add some more foliage green gel into your remaining green sugarpaste left over from covering the cake. Knead it in well, you’re aiming for a green that is slightly darker than the front door. Once you have this start breaking off blobs of various sizes. Flatten these using your rolling pin and stick them on top of your hill, flowing over the roof and down the walls and columns using a little water. Now take your sharp knife and use the very tip to repeatedly stab gently into these pieces until they resemble grass/leaves.
When decorating the roof you’ll also need to stab gently into the original green base layer in order to give a grass-like effect over the entire hill.
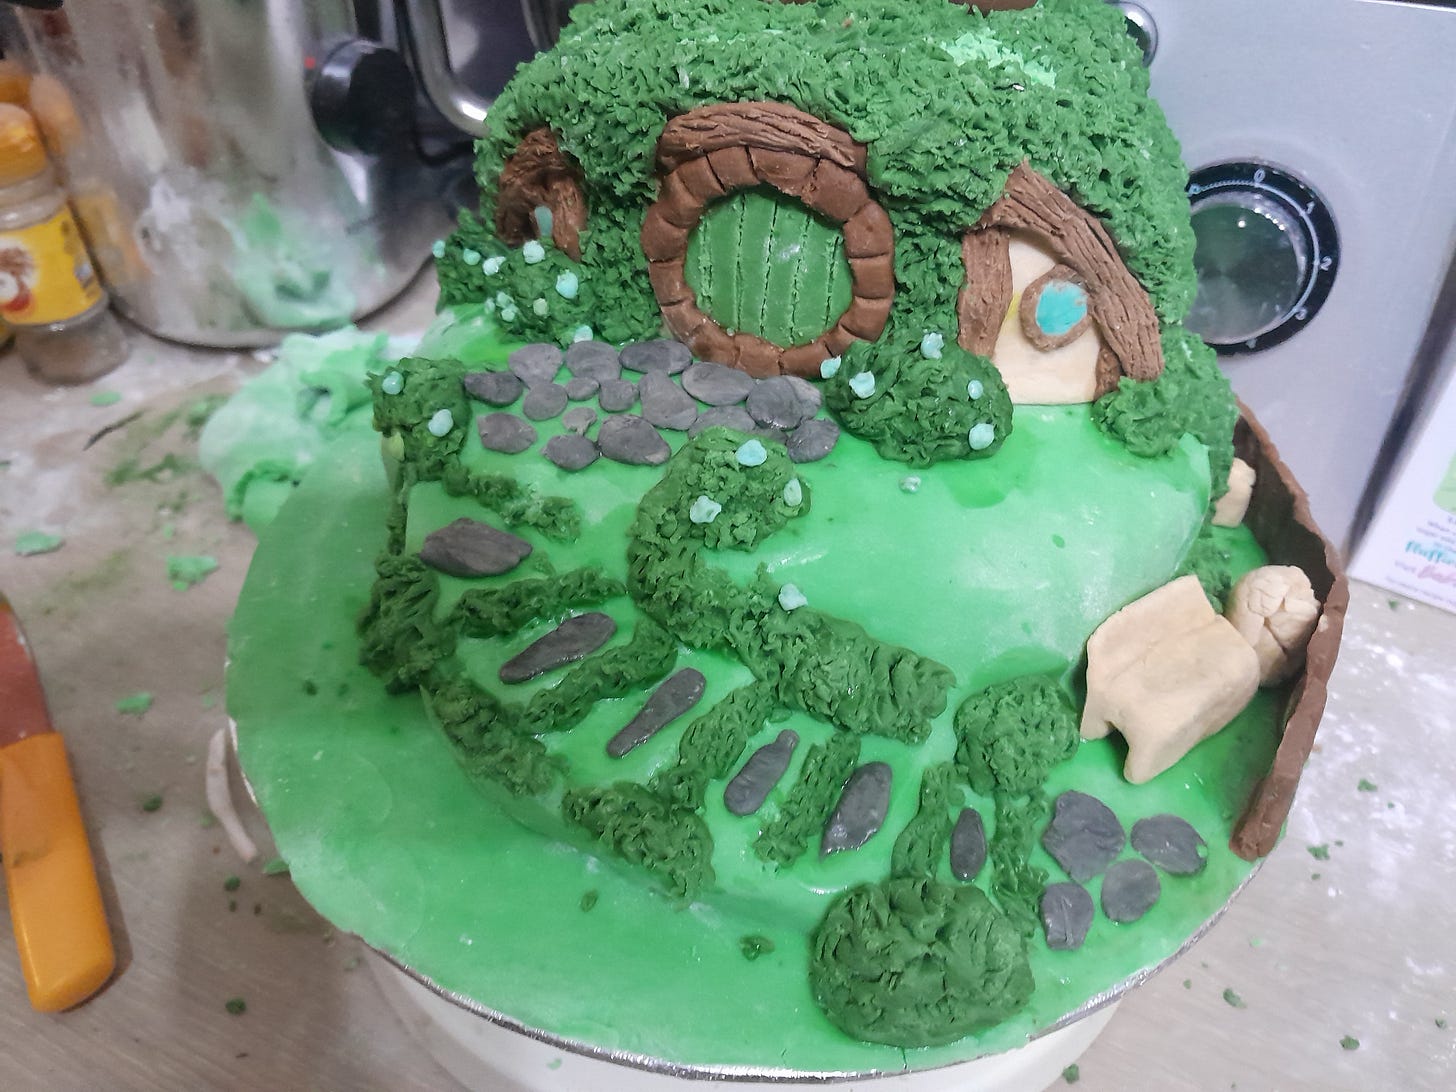
For the bushes just make some larger, randomly shaped blobs, do not flatten these, but give them the same stabby treatment you gave the grass and ivy. Stick these into the desired places using a little water.
The fence is made by rolling a long, thick piece of brown sugarpaste and using the square edge of the knife to give it the appearance of separate fence posts.
Stick it in place with a little water and support it by placing a wedge of sugarpaste behind it whilst it sets. Use the same technique for the gate, just stick this between 2 separate fence posts at the bottom of your stairs.
To make your paving stones and steps you need to make a light grey sugarpaste by kneading a dab of black coloring gel into some white sugarpaste. Now roll out some randomly shaped cobblestones for the path, and some elongated stones for the steps. Stick them down with a little water.
Use your remaining pale blue sugarpaste to add flowers to your bushes, tiny balls of sugarpaste flattened between your fingers work well for this. Stick them on with water (I’m sure you’re getting the hang of this by now).
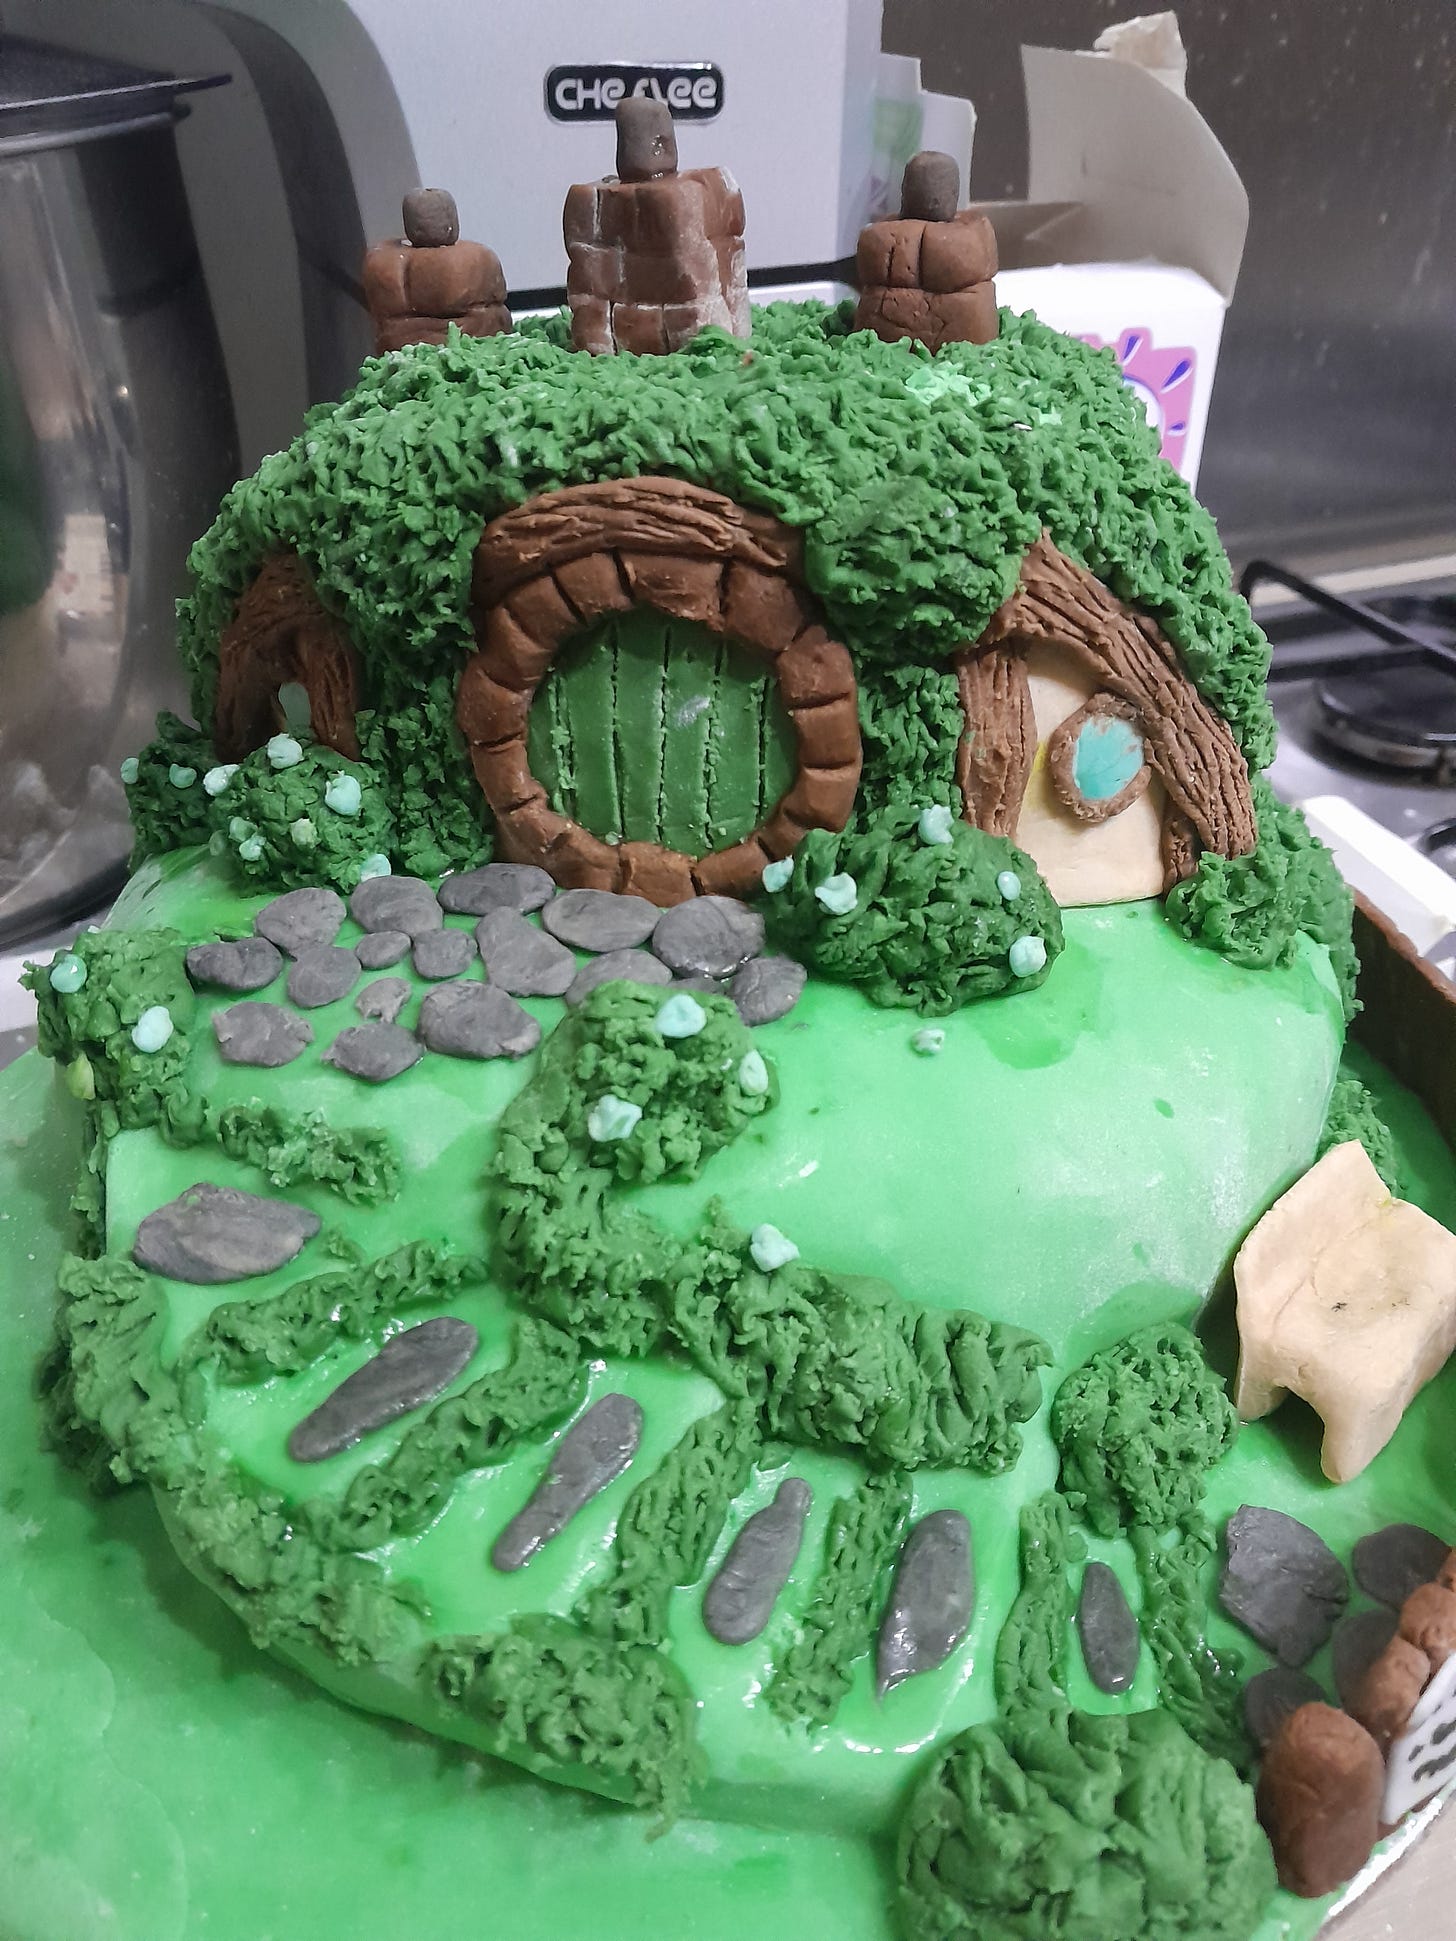
Your chimneys can be made by making cubes or cuboid shapes from your brown sugarpaste and using the square edge of the knife to create a brick-like effect. The chimney pots can use the same grey you used for the paving stones, or you could add a little more black into the mix to make a darker grey. Roll a tube shape between your fingers and use the sharp end of the knife to make a slight, circular indent in the top. Stick them into place on your hill.
Your finishing touch is the party sign. Roll out a small square of white sugarpaste, take your edible marker and write “No Admittance, Except On Party Business” on it. Leave it to set before sticking it to the gate.
You can mix more of the brown and white sugarpaste to make a pale brown for a bench if you want, you could also really go to town and make wheelbarrows, spades, etc for the garden. After 6 hours of decorating I was done, I am obviously not cut out for epic quests and long adventures, may you fare better than I in that respect.
You should end up with something that looks very similar to this.
I’m sure you’ll be very popular with any Lord of the Rings fan you decide to bake this cake for, it’s certainly a show-stopper.
If you’d like to make a one-time donation so that Trix can keep you supplied with cake recipes forever…
And now, in the words of Bilbo Baggins …
I regret to announce — this is The End. I am going now. I bid you all a very fond farewell (until next month).
Goodbye.


I suppose there's always going to be someone who finds something to object to.
If you don't appreciate cake, or amateur bakers, or people who have to use their phone to take photos of their cakes because they can't afford a professional camera set-up, then this post is not for you and you don't need to read it. Scroll on past, no one needs negativity on a thread that is supposed to bring joy to people and inspire them to try something they didn't think they would be capable of.
Avoid someone who acts like a troll, because they probably are.